1. Login into Motadata
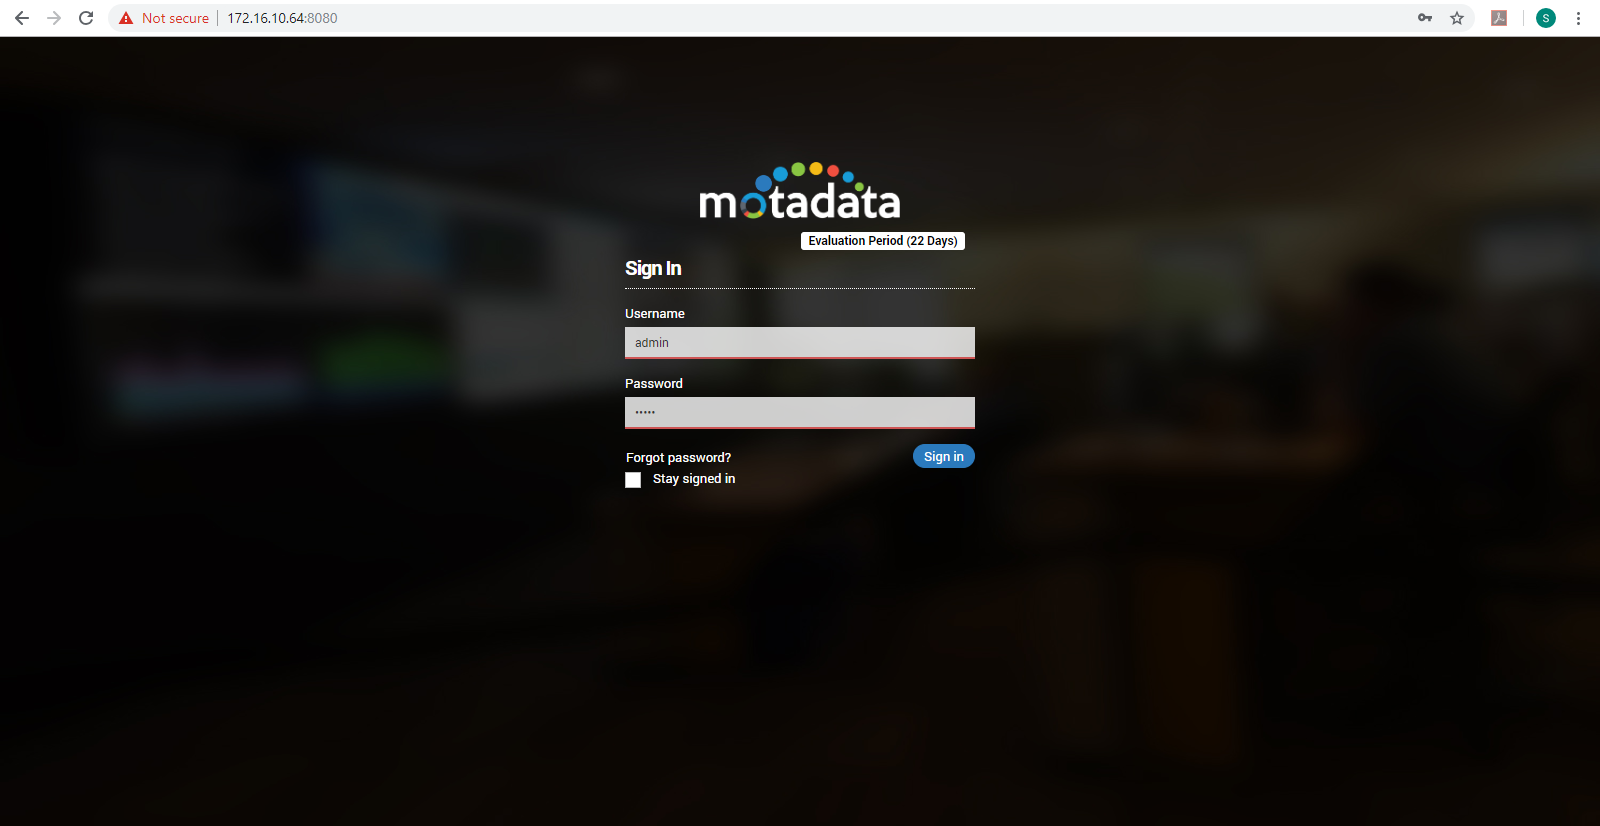
Motadata login is the first screen you’ll see as the Motadata GUI component. For safety purpose, you need to authenticate yourself before accessing the Motadata portal. If you don’t have the user credentials, contact your administrator. To access the Motadata portal:
Open any modern browser. E.g. Google Chrome.
Enter the motadata server URL. If you don’t know the URL or if it’s not working, contact your administrator.
Press Enter. Motadata Login page will appear.
Enter your login credentials. The administrator can see the installation guide for default credentials.
Click Sign-in.
Motadata home page will show up.

Motadata Login Screen
On login page, you can click Stay signed in if you want motadata to remember your credentials. This means that when system logs you out due to inactivity, Motadata will show your username and password in respective fields. If you are using Motadata on a shared computer, we recommend not to check the box.
If you forget your password, click on the Forgot Password?. Motadata will ask you to fill the username. Please enter the valid username in the field. Motadata will send an email with verification code to the email ID registered with that username.
After login, you will see the Home page. If you have installed a fresh Motadata server, the home page will show blank widgets and tables. See below section to start monitoring your network.
1.1. SSO Login Page
Now, SSO Login is also supported on Home Login Page, for which a while logging in user needs to select on SSO Login. The page will redirect to the configured IDP’s Providers page. For example. Google. Here, the user will put the google’s login credentials and it will directly login to the Motadata Page.
Thus, eliminating the creation of multiple credentials gets solved here. Also, in a single click, login becomes possible.
Configurations for the SSO to be activated are done from backend. The input fields for as below:
IDP Providers Data
idp-login URL: Input the idp login URL. Example: https://motadata-123.onelogin.com/trust/saml2/http-post/sso/3dc15f7c-dd9f-4952-8b6e-1d381856c6f3
idp-logout-url: Input the logout URL. This URL should be the desired landing page. For example Motadata Page: https://motadata-123.onelogin.com/trust/saml2/http-redirect/slo/1296582
idp-entity id: This id will be in specific format. For example: https://app.onelogin.com/saml/metadata/3dc15f7c-dd9f-4952-8b6e-1d381856c6f3

SSO Login Page
idp-fingerprint: This is a fixed idp-fingerprint.
sp-entity-id: This is the entity Id of the Service Provider. For example: motadata-123
sp-redirection URL: This is the URL of redirection. For example: http://localhost:8080/saml/public/sso/callback/?_ctype=json
Note: All the above fields will be available from the ‘metadata’ file.
1.2. Before You Begin
Before monitoring your network, you’ll need to:
License Motadata: Buy a new license or activate your Motadata using the license given to you.
Discover Your Network: Connect your motadata with your network and allow it to read your network.
Provision Your Monitors: Post discovery, Motadata will give you list of all the available monitors. Choose the monitors of which you want to keep the track on. Motadata will only work on selected monitors.